Command strips promise damage-free removal, and that promise is real — but only if you remove them the way the adhesive was designed to release. Yank the tab outward or pull too fast and you can peel the paint straight off the drywall. This guide walks through the correct removal method, what to do when the tab snaps off, how to clean up any residue, and how the rules change from surface to surface.
Quick Answer: To remove a Command strip without damage, take the item or hook cover off first, grip the pull tab, and stretch it slowly straight down, parallel to the wall — never pull it toward you. The strip stretches (sometimes over a foot) and then releases cleanly. If the tab breaks, warm the strip with a hairdryer and saw through it with dental floss.
Why the Direction Matters More Than the Force
Command strips use what 3M calls stretch-release adhesive. When you pull the tab straight down, the adhesive stretches long and thin, and that stretching weakens its grip on the wall until it lets go on its own. Pull the same tab outward, toward you, and you apply a peeling force directly to the paint layer — which is exactly how paint gets torn off. Every step below follows from that one idea: stretch downward, never peel outward.
What You’ll Need Before You Start
The standard method needs nothing but your hands. Keep these nearby in case the strip is stubborn or the tab breaks:
- A hairdryer (low or medium heat)
- Dental floss or thin fishing line
- A soft microfiber cloth
- Rubbing (isopropyl) alcohol and a cotton swab
- Warm, soapy water and a clean cloth
The 7-Step Damage-Free Removal Method
Step 1: Take the Item (or Hook Cover) Off First
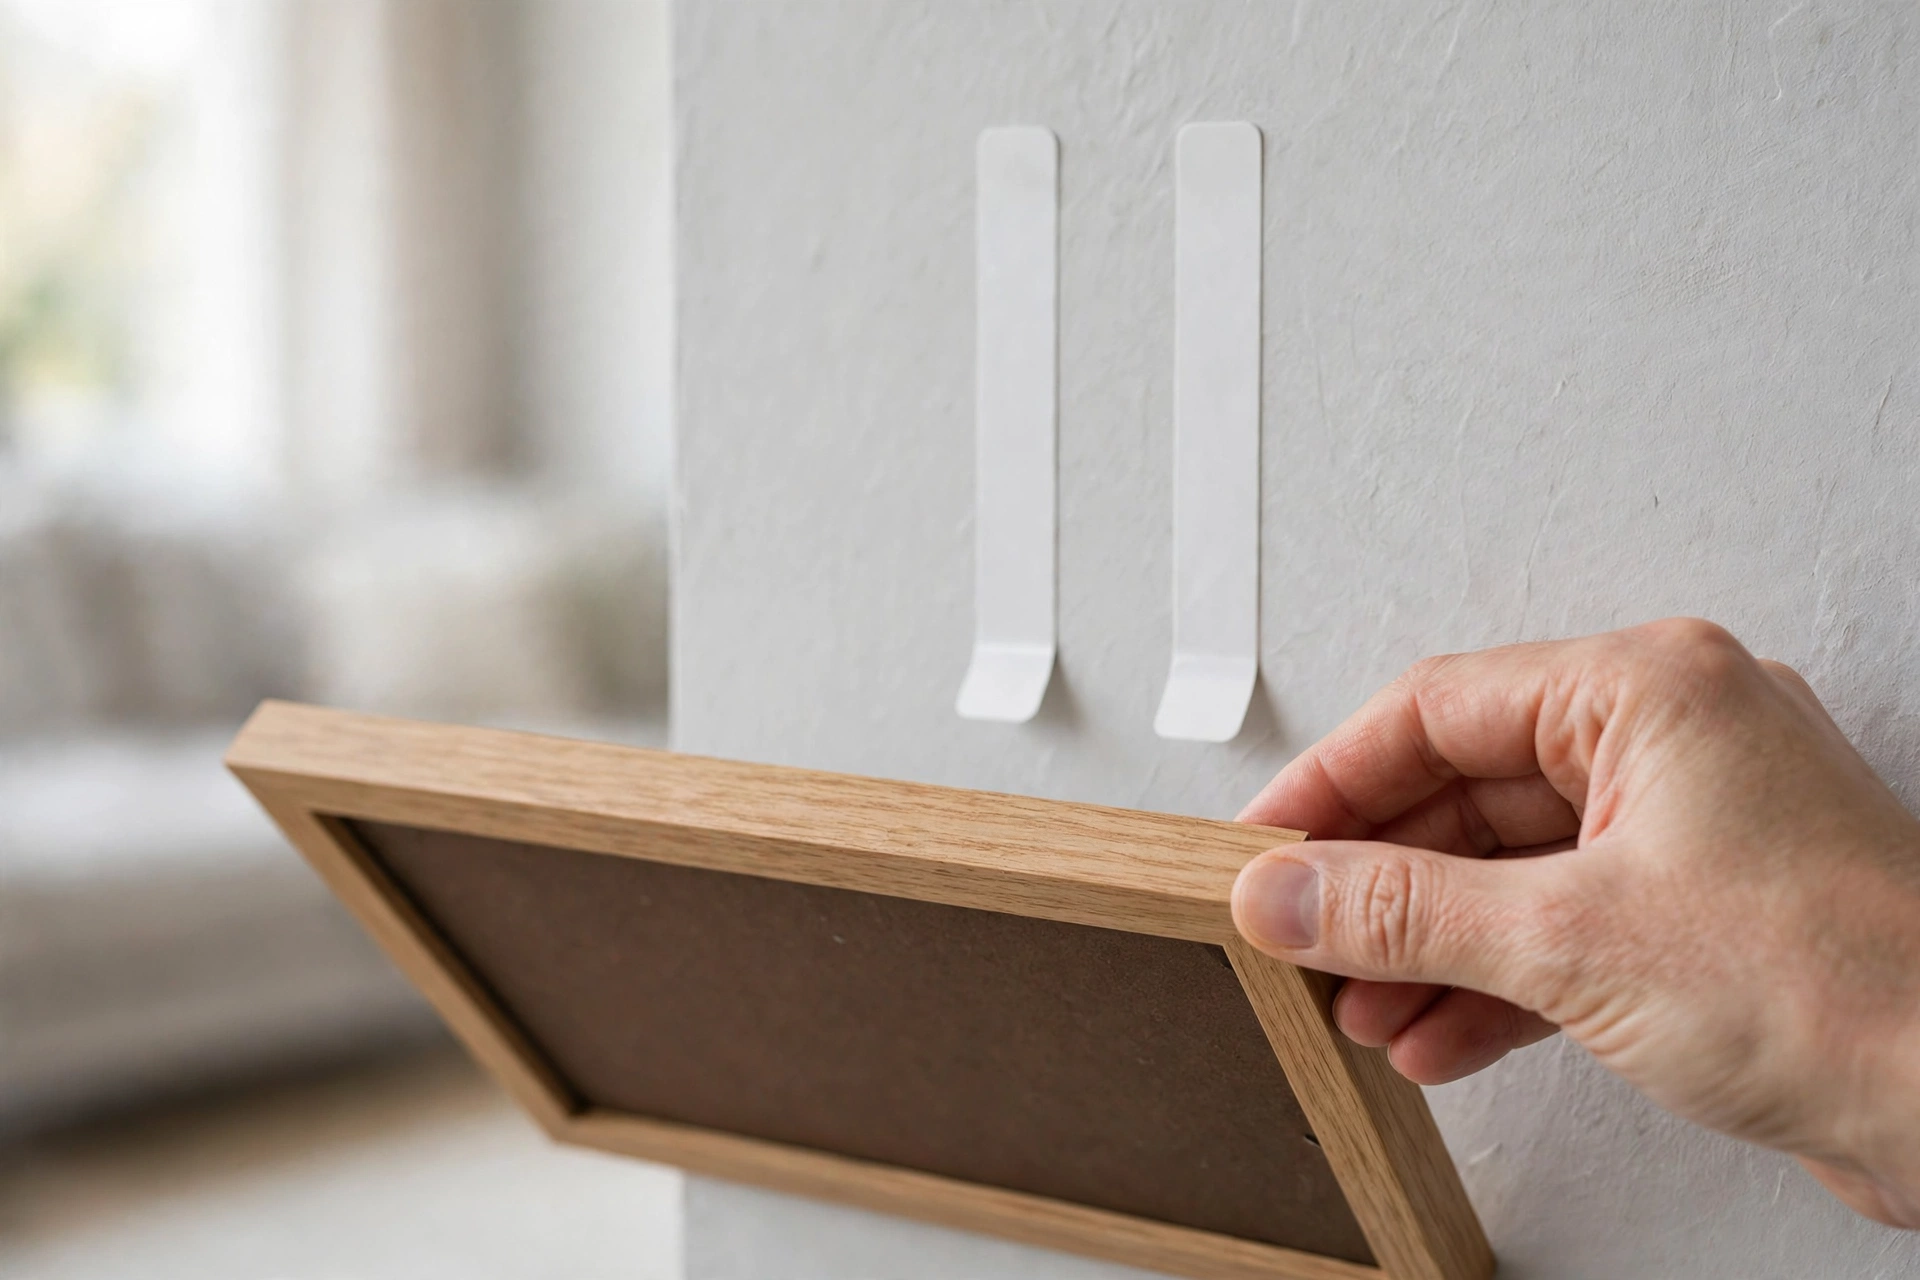
Never pull a strip while something is still hanging from it. For picture-hanging strips, lift the frame from the bottom and tilt it away from the wall, using the top edge as a pivot — this separates the two interlocking halves and leaves the wall-side strips exposed. For hooks, lift the hook cover off the base first so the pull tab is fully visible. This is also the moment to set the item somewhere safe, not balanced on a chair edge.
Step 2: Find and Grip the Pull Tab
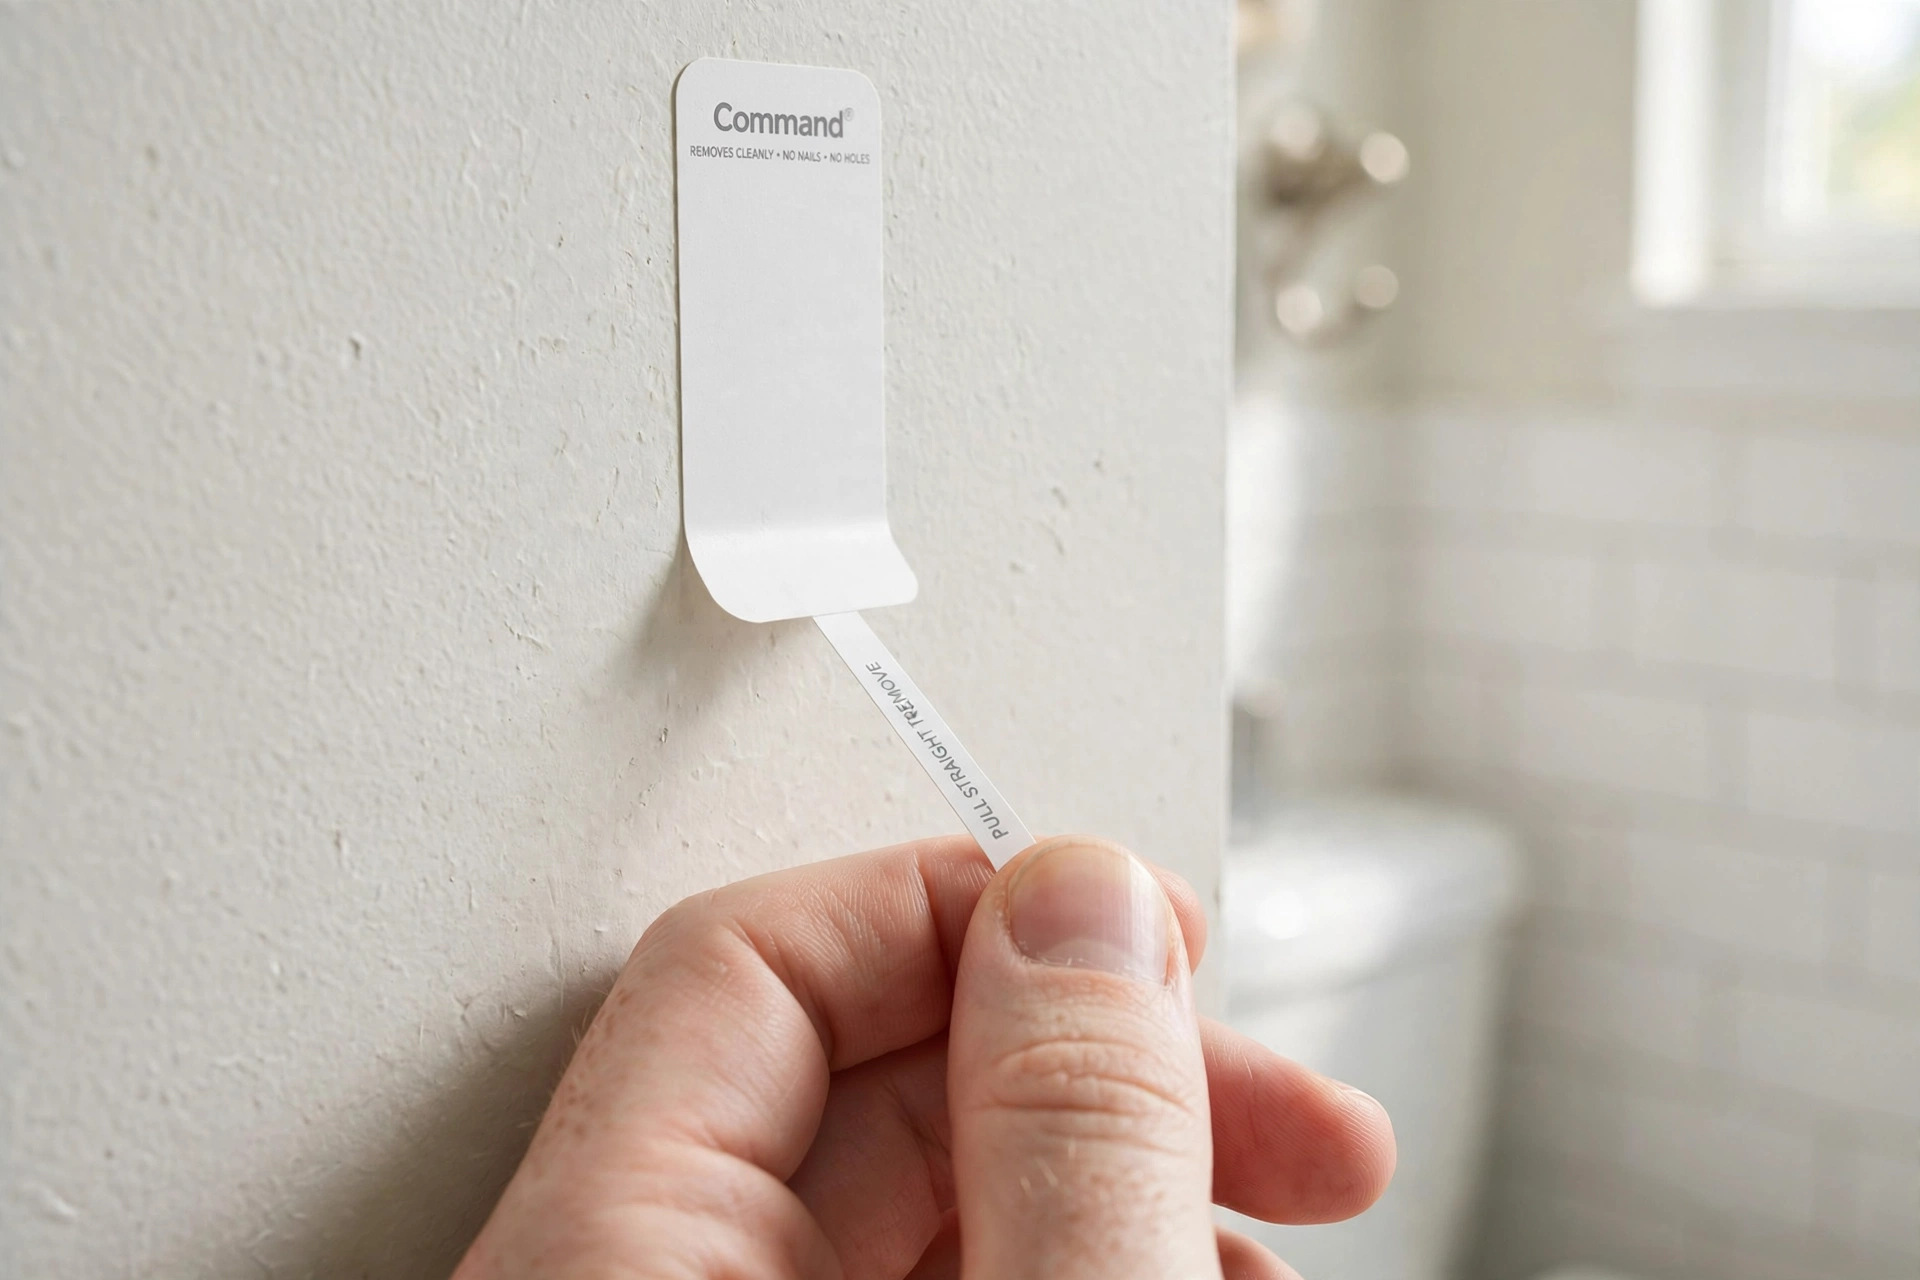
Each strip has a thin tab extending from its bottom edge. Grip it firmly between your thumb and forefinger. If a tab was trimmed short when the strip was installed, you can sometimes tease the edge up with tweezers — but if it’s fully gone, skip ahead to Step 7 instead of digging at it.
Step 3: Brace the Base, Pull Straight Down
With your free hand, hold the hook base or the top of the strip lightly against the wall — don’t press hard, just keep it steady. Then pull the tab straight down, keeping your hand close to the wall. The single most damaging mistake is pulling the tab outward toward you, which puts all the force into peeling the paint. Downward and slow is the whole technique.
Step 4: Keep Stretching — Don’t Stop Halfway
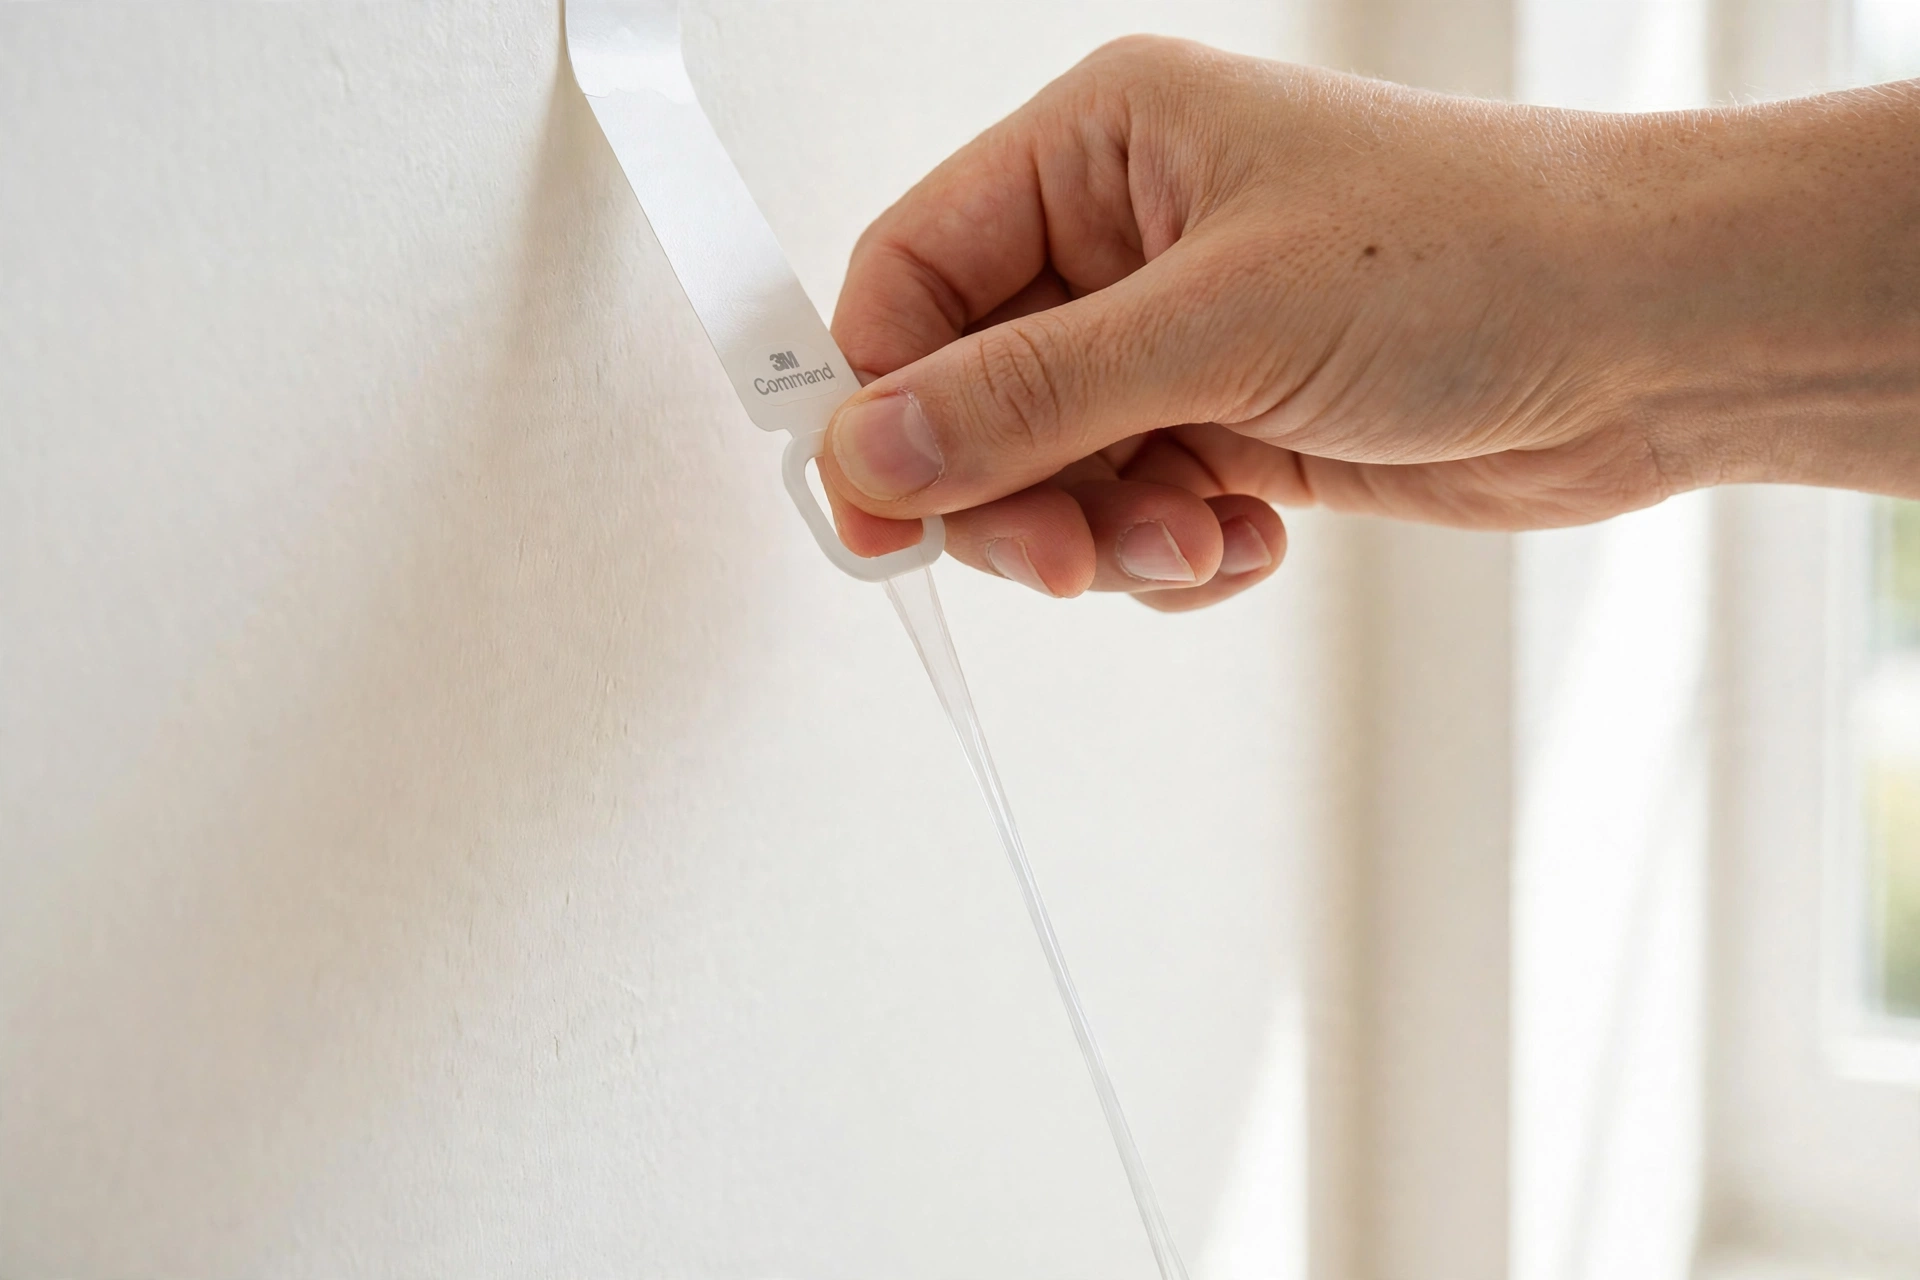
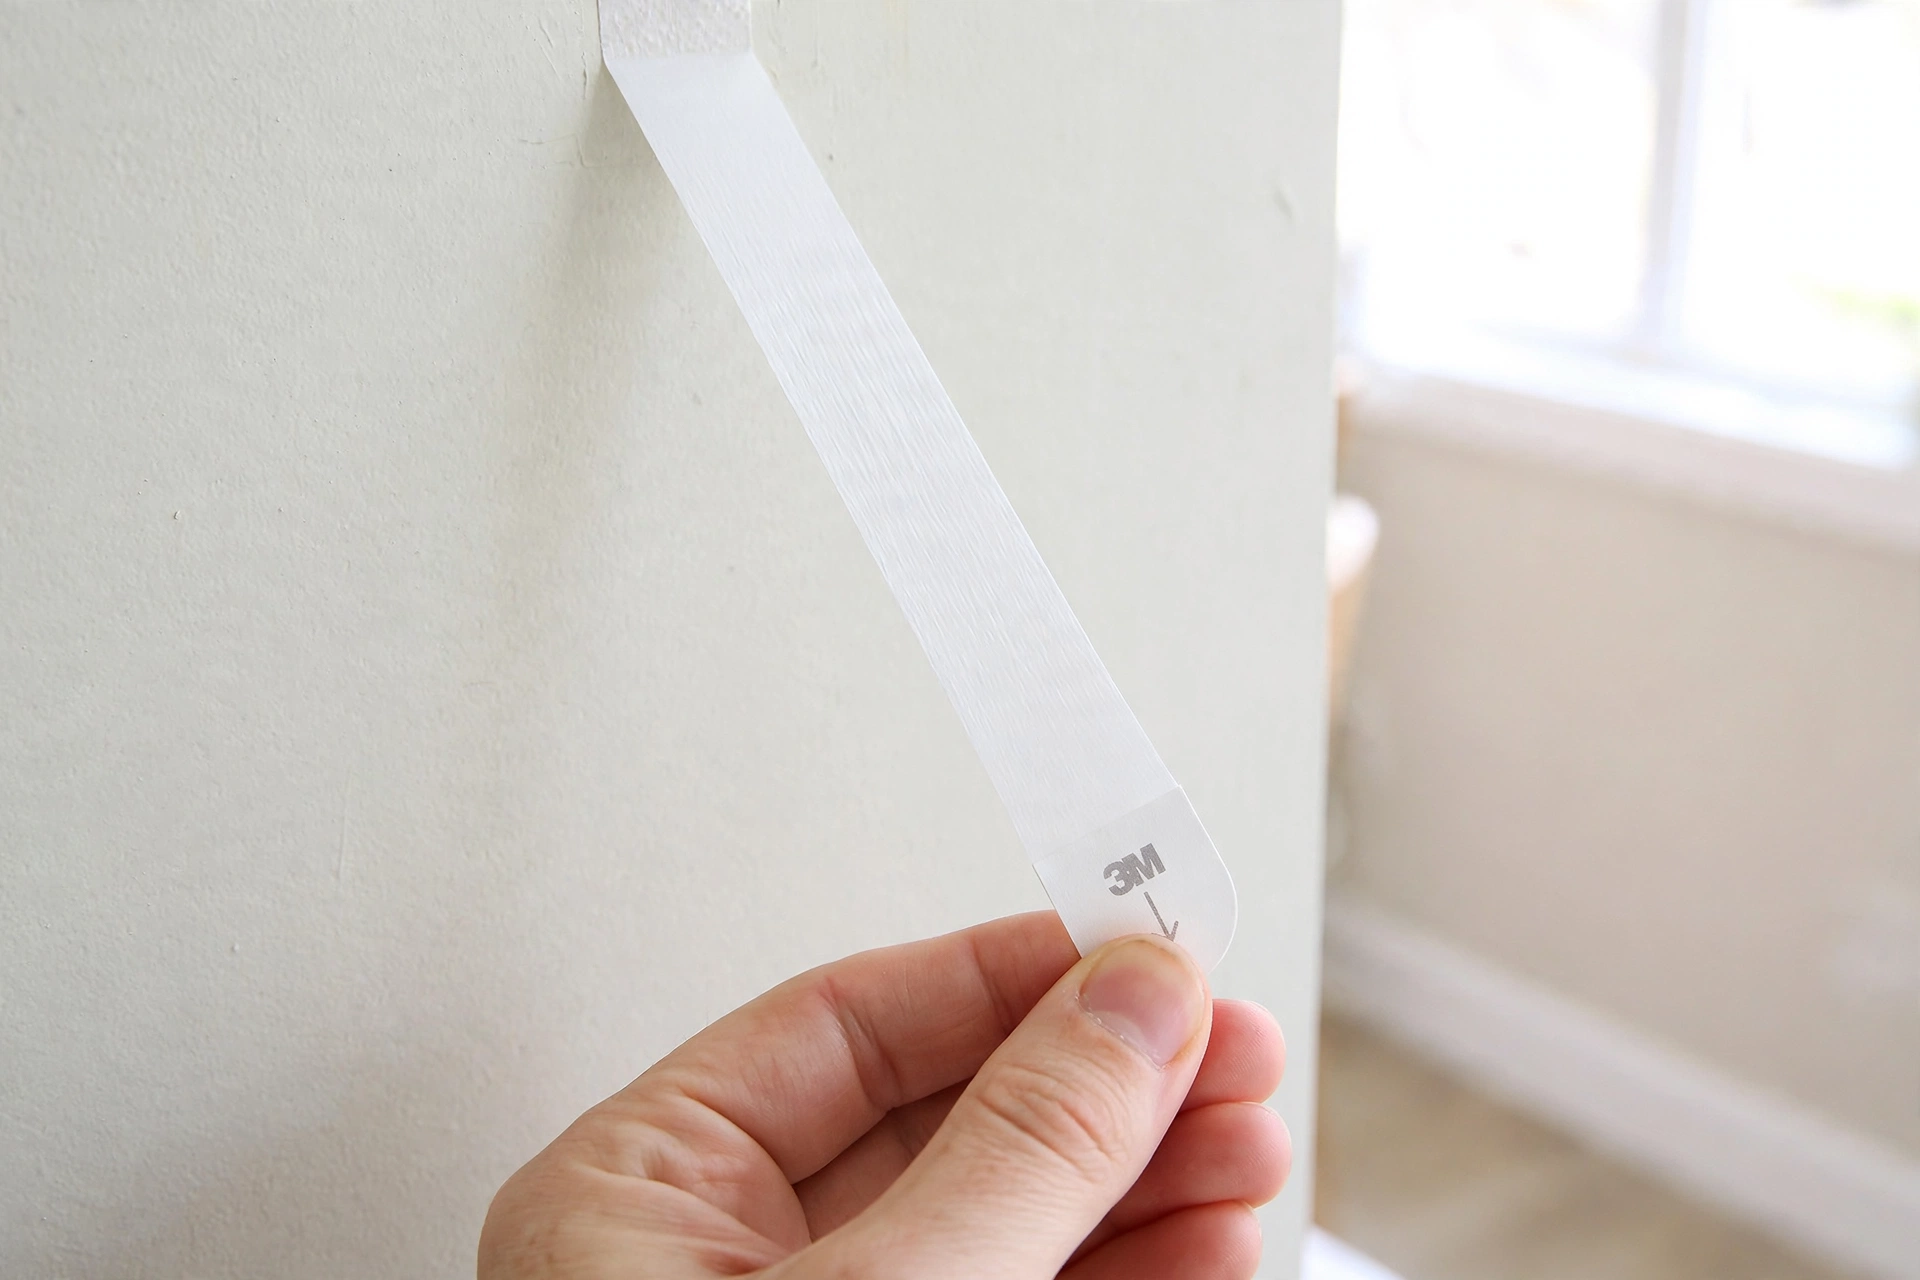
The strip will stretch far — sometimes more than a foot — and the process can take around 30 seconds of slow, steady pulling. That’s normal; it means the release mechanism is working. If your grip slips, move your hand up along the stretched strip and keep going. Don’t speed up at the end: a final yank is the classic way to snap the tab or tear paint.
Step 5: Inspect and Roll Off Any Residue
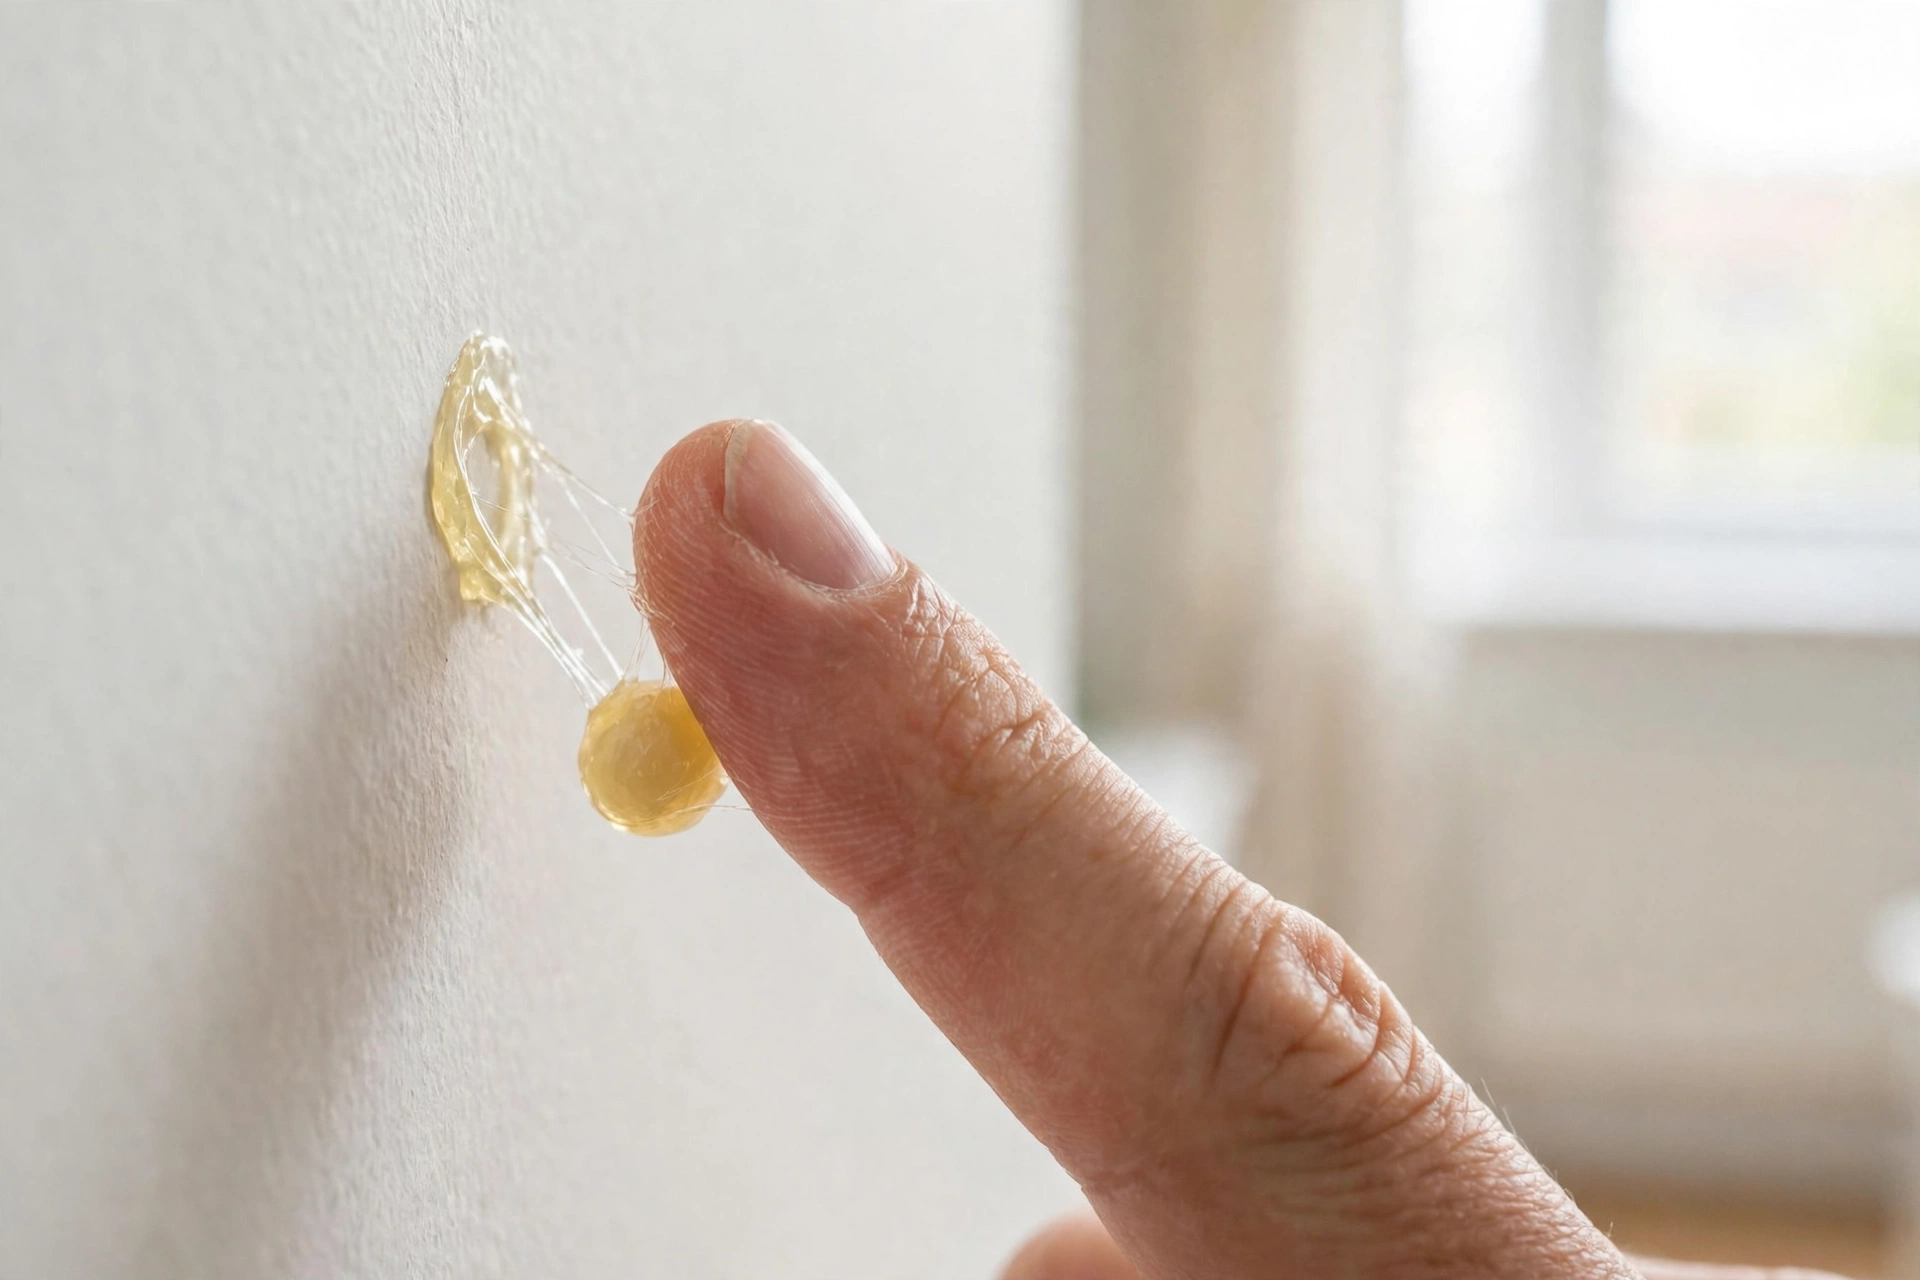
When the strip releases, the wall is usually completely clean. If a gummy speck remains — more common with old strips or humid rooms — rub it gently with your fingertip or a soft microfiber cloth. The adhesive tends to ball up and peel away under light friction. For anything that won’t budge this way, see the residue cleanup section below.
Step 6: Stubborn Strip? Warm It First
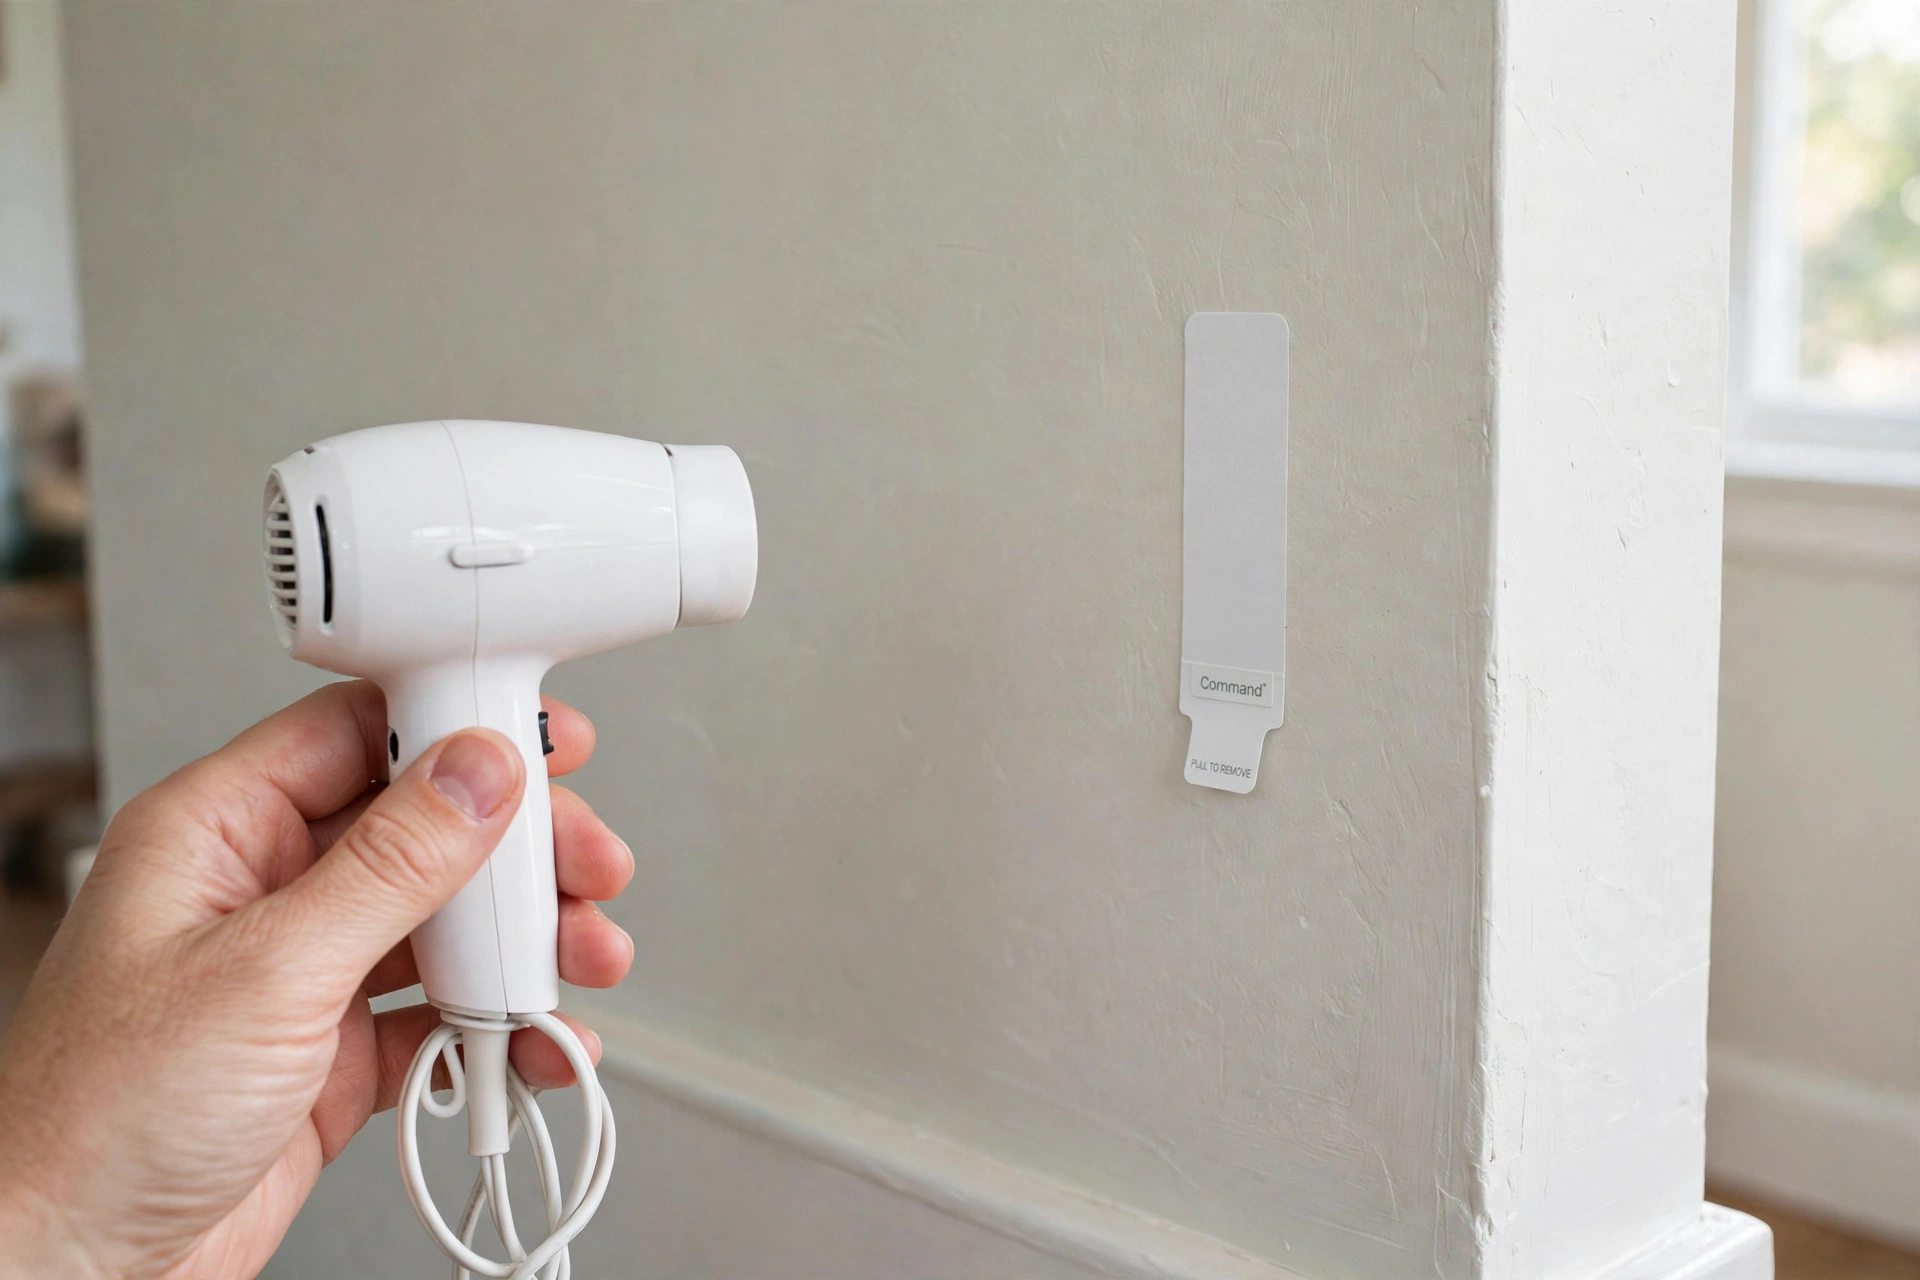
Strips that have been up for many months, or that are being removed in a cold room, can resist the stretch. The fix is gentle heat: hold a hairdryer 3–4 inches away on low or medium heat, moving it back and forth over the strip for 20–30 seconds. Warm adhesive turns pliable and releases much more easily. Then retry the slow downward pull from Step 3. Don’t overheat the spot — you’re softening glue, not toasting paint.
Step 7: The Tab Snapped? The Dental-Floss Rescue
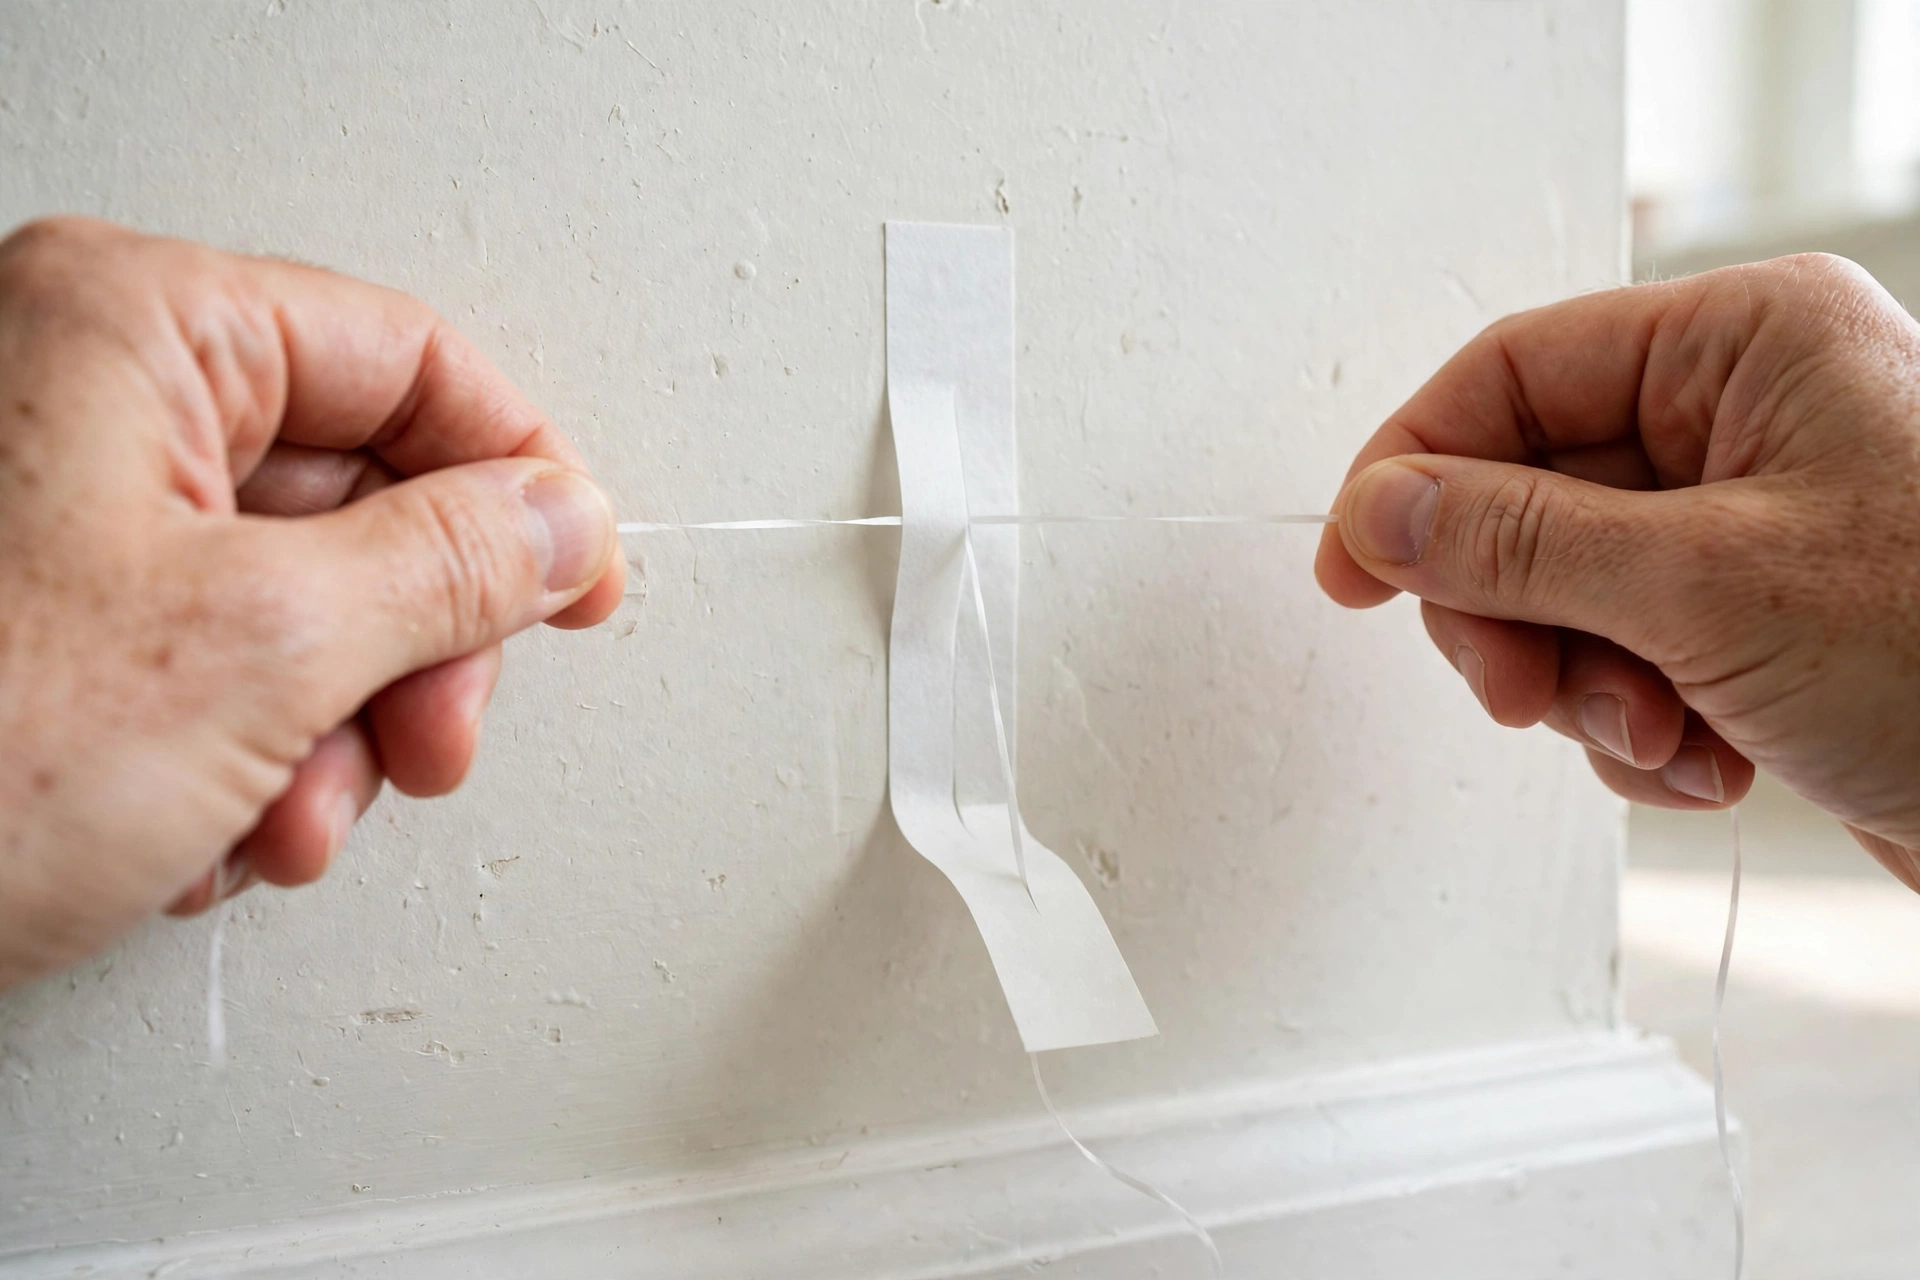
A snapped tab is the most common Command strip emergency, and yanking the hook off the wall is the worst response. 3M’s own guidance for this situation: warm the base plate with a hairdryer to soften the adhesive, then cut through the foam core with dental floss. Wrap about a foot of uncolored floss (or thin fishing line) around your index fingers, slide it behind the top edge of the strip, and saw gently back and forth while working downward. The line slices through the foam without touching the paint. Stretch or peel off whatever adhesive remains, then roll away the last bits with your fingertip.
How the Rules Change by Surface
The tab-pull technique is the same everywhere, but some surfaces are far less forgiving than others. Here’s what changes:
- Painted drywall (cured paint): the ideal case — a slow downward pull releases cleanly. Risk rises with old, flaking, or cheap flat paint applied over unprimed drywall, because the paint’s own bond is weaker than the adhesive.
- Freshly painted walls: 3M advises waiting at least 7 days after painting before applying strips, so the paint fully cures. Removing a strip from uncured paint is one of the most common causes of peeled paint.
- Tile, glass, and metal: the most forgiving surfaces — the adhesive releases easily and any residue wipes off with rubbing alcohol. Shower-adjacent glass is fine as long as the strip used was rated for humidity.
- Finished wood: generally safe. Unfinished or raw wood is a different story — adhesive can bond into the grain, so strips aren’t recommended there.
- Wallpaper: don’t. 3M explicitly warns against strips on wallpaper because removal tears it, no matter how careful the pull.
- Textured walls, brick, and concrete: the adhesive can’t make full contact on uneven or porous surfaces, so 3M doesn’t recommend strips here — and removal from a rough surface is where damage is most likely.
Cleaning Up Leftover Residue Without Harming Paint
Start with the gentlest method and escalate only if needed. Rubbing with a fingertip or microfiber cloth handles most cases. For stubborn spots, isopropyl rubbing alcohol on a cotton swab breaks down the adhesive on most painted surfaces, and a citrus-based adhesive remover is a gentler alternative. Whichever you use, test it first on a hidden spot — behind furniture or near the baseboard — to make sure it won’t dull or lift the paint finish. Wipe the area with a damp cloth when you’re done. Never scrape with a metal blade or pry with a putty knife; both will damage the paint the strip spared.
If the Paint Peeled Anyway
Sometimes the wall was already compromised — old paint, moisture damage, or a strip that was pulled outward by a previous attempt. If a chip of paint comes off, stop and don’t pick at the edges; peeling further only enlarges the repair. For a small chip, a dab of matching touch-up paint (renters: ask your landlord for the color rather than guessing) usually makes it disappear. If the brown paper layer of the drywall is exposed, it needs a coat of primer first — paint applied straight onto raw drywall paper soaks in and looks blotchy.
Rehanging After Removal
A removed Command strip is single-use — the stretch permanently breaks down the adhesive, so a fresh strip is needed every time. The hook or frame itself can usually be reused with a new strip. Before rehanging, wipe the spot with rubbing alcohol and let it dry, and if you’re putting hooks back up, our adhesive towel hooks guide and the step-by-step hook installation guide cover placement and weight limits. Planning the new layout first? Check how high to install bathroom hooks so you only place strips once. And if your wall stays damp — a shower wall, for instance — suction-cup hooks are often the better long-term choice than adhesive. For more step-by-step help, browse our How-To Guides.